And just recently I was talking with Cat about writing the update for this week. I am also trying to figure out what to do with Post 6, as that is going to be a regular feature within this blog and not just random filler to keep me in the habit of posting on a regular basis. Well I look forward to how this blog will grow and evolve over time. Did you know that there were ninety of you reading this last month? I check the stats, but enough of my rambling. Its time for part X. which was originally intended to be part VIIId. So lets finish up with them metal coats eh? And then of course move on to the highlights.
So with out much ado this is going to be quick and dirty.
In the above image you see that the leg pistons are still in the Coal Black base color. I have also painted the heels the same as well as parts of the feet. The "toes" were painted black as that was the originally planned color scheme. With the exception of the trim on the shoulders, that's where the shoulder spikes are, every part that is based in Coal Black will be painted in Pig Iron. Also I painted the ammunition in brass as well. I did that because all modern munition casings are made of brass. this has been standard practice in munition manufacturing since the middle of the 19th century. And to tie it in better as well as to break up the monotony of the color scheme I painted the knob, I prefer to think of it as the firing pin, in brass.

There, fast wasn't that? even the photographer was surprised. A few more little details. The furnace looked rather dull, so I accented it with Pig Iron handles, and in the end I decided to mix Pig Iron and Thamar Black in equal parts 1:1 ratio to give it a cast iron look. And while I was mixing paint I mixed a 1 to 3 parts ratio of Brass Balls and Coal Black which I then thinned a little bit and used it to shade the boiler.
While I am at it I will add some to the smoke stacks as well. The total shading isn't done yet, nor have I started it in earnest either.
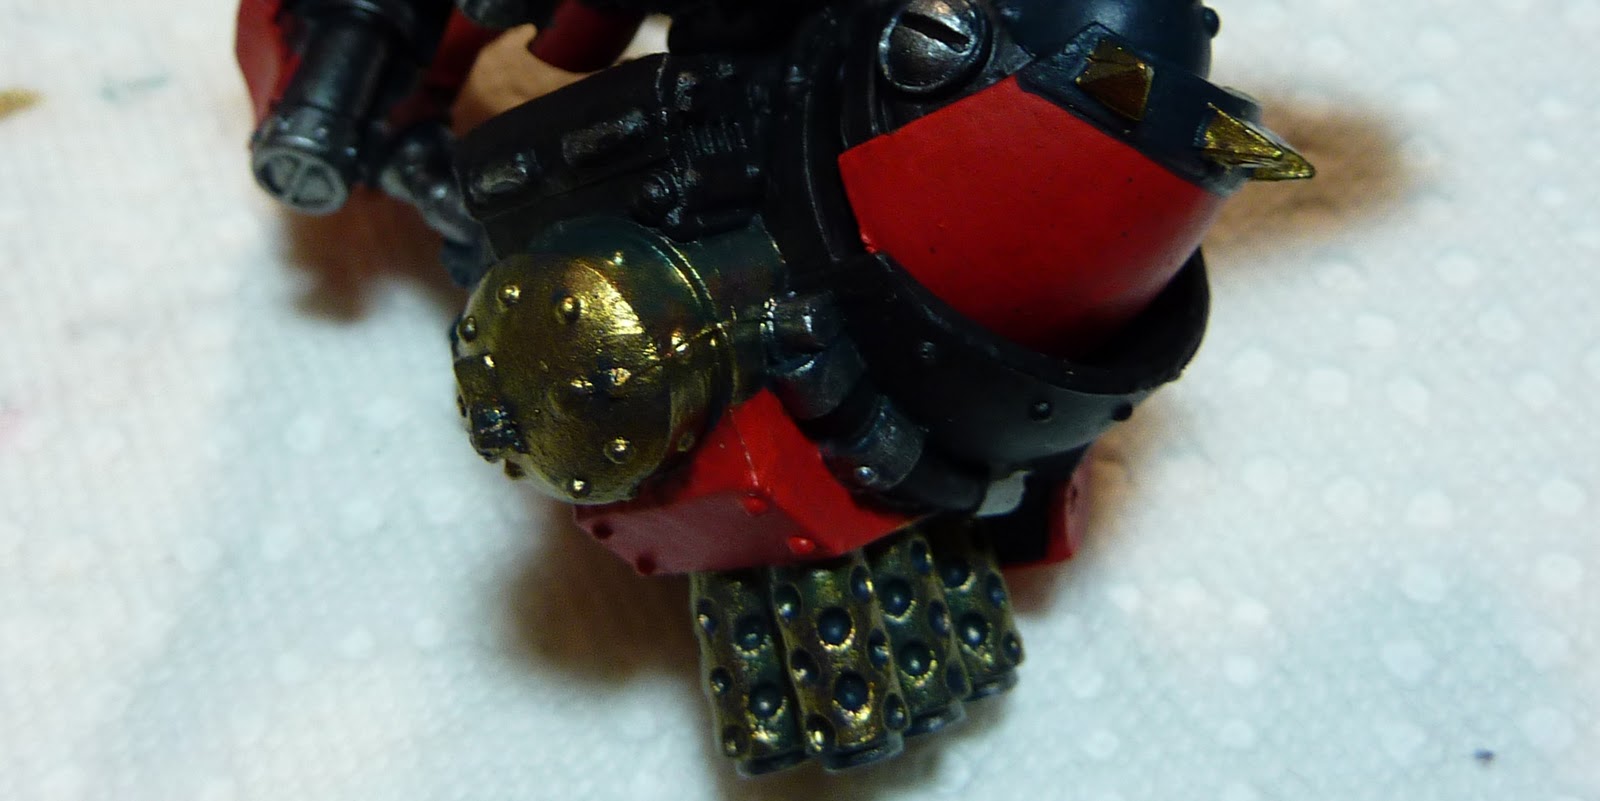
As i have a tendency to jump around from one part to another I move on to the "belly" of the beasts. Mind you I am doing the same to both the Destroyer and Juggernaut so don't worry about which model I am working on. The main pistons got pig Iron and the round parts that join to the hips are brass. Once again to break up the color scheme and make the model a little more interesting to look at.

Did I mention the part where I painted the Eyes white? I had to use the detail brush for that. it came in handy and so far it has kept its tip. A good way to preserve your brushes is to keep the straw like cap that they come with and replacing it on the brush when you are done with it. After the eyes I switched to my regular brush and painted the edge of the axe with Cold Steel. After a little time I saw that the difference in contrast was insufficient and I shook up and then opened the Quick Silver pot, thinned some of it with water and painted the Axe edges on both models. As I am looking at them I see parts that will need to be cleaned up, but that will come later.
However while I am on the subject of cleaning. That stray stroke of Pig Iron will get a coat of Thamar Black.
At this stage i have painted the feet as well. I wasn't sure if I would like the effect initially, but it seems to work. Besides it may get covered when I finish the base with mud and stuff. I also notice that the collar rivets have been painted with either Cold Steel or Pig Iron as opposed to Brass Balls on the Juggernaut. It doesn't really matter which honestly. Well I am not going to change it now, as both bodies looks so alike. They are the same chassis design and when I am making fast decisions during a game it helps to differentiate between the two.
I also painted the holes in the axe white. In the original artwork that part glow blue. Also see where I shaded the boiler with my mixture of Coal Black and Brass Balls. As Noted elsewhere in the blog Coal black makes for a nice shade for brass components. And while you can;t see it I did paint the eyes on the Juggernaut white as well.
Here is another angle of the Juggernaut's back. and below is the Destroyer for comparison.
And with that we are are ready for the highlight and shading part. which will be a post on its own.


No comments:
Post a Comment