So now it's time for a new post. And with out much ado I would like to introduce to you a new member of our Slow Burn league. (drum roll)

Now then. On with the blog.
So I typed about the various tools to use for cleaning your model. Which I conveniently assume to be a plastic Juggernaut. Now I will tell you.... write... type about posing your model. In fact the entire assembly process from pre-assembly to glued. This is actually not a difficult process and is only time consuming if you have a hard time choosing a pose. And, or have decided to use a plastic cement, aka plastic glue, in a cold room. Oh yeah. I almost forgot. I will be covering the two main types of glue. The pros, and the con's. For those of you that are interested in that sort of thing. Let's get started shall we? Good.
So first I will cover the tools that we will be using along with pictures. As is customary in this blog. I find that if I show you what it looks like. You will have an easier time finding the tool in question. Please pay attention to the warnings that I add. They are there for your safety, convenience (It is in fact very convenient to enjoy the hobby from the comfort of your home and not the emergency room. Just saying)
Ok. Tools that we will be using.
First we have our trusty knife:
 |
| A P3 hobby knife. |
Warning!!! A hobby or scalpel knives are VERY sharp. And should be. I advise using sharp blades as it easier to cut things with. However they can easily cut you as well. So use care and pay attention to what it is that you are doing when using these. Always replace the safety cap when you are not using the knife. Just in case. Accidents can happen, lets try to keep all of our fingers and toes attached and avoid the proverbial 1-10 stitches.Next we have the unsung hero of many a modeling jobs and conversions. The sticky tack.
 |
| Pictured here with the cleaned Juggernaut. |
And last, but certainly not least. I f you want to glue the thing together that is. Is, well, the glue. Two types really. Plastic cement and super glue.
 |
| Testors brand plastic cement. |
 |
| The Wrong way to use Super glue. Or any type of glue for that matter. |
 |
| The right way to use glue. |
Much can be said about glue. I, however, will limit myself to when it is best to use each type of glue.
First the above mentioned plastic cement.
The most common, at least in my experience. Is manufactured by/for the Testors corporation. I have encountered it in three forms. Red tube: in all its unhealthy, but fairly quick curing glory. The red tube formula contains brain cell killing methyl ethyl ketone that make a person dizzy.
Next is the jar pictured above. It's a liquid version. It contains the same Metyl Ethyl Ketone as the red tube. It also comes with a convenient brush applicator. And then there is the lemony scented blue tube. It is the non-toxic version of the red tube plastic cement.
Now then, when do you use it and why? Well I prefer to use plastic cement on my plastic miniatures. Plastic cement doesn't cure like super glue, an advantage if you have a very humid environment. Or a not so humid one. This is mostly because the glue itself doesn't crystallize, but melts the plastic and allows it to fuse together. Much like welding metal. The cure time is slower and allows for final reposition of part without ruining the bond.
WARNING!!!: Do NOT DRINK GLUE! Despite the fact that I appear to be taking a rather large swig of ZAP-A-GAP. This was done with the magic of modern photography to illustrate the right and wrong way to use your glue. YOU SHOULD NEVER, EVER INGEST PLASTIC CEMENT OR SUPER GLUE! BAD, and I do mean BAD, things will happen. Not may, but Will.There are draw backs, however. And they are not to be taken lightly. First and the lightest, is the cure time. Super glue sets in a matter of seconds, usually about 15, and is completely cured within 30 seconds. Plastic cement on the other hand requires patience. About 30 seconds for a basic bond, and 2-6 hours for a complete cure (depending on brand, temperature and formulation). The other factor to take into account is toxicity. Yes some glues are non-toxic like Elmer's white glue, but plastic cement tends to be. Methyl Ethyl Ketone is one of the ingredients of plastic cement. It's the glue's solvent. In small amounts it smells unpleasant, can give you a headache. Long exposures lead to nausea and some brain damage. Always use in a well ventilated area. In addition this glue's cure time is dependent on ambient temperature. It works really fast at 60-70F, but at lower temperatures it takes longer and longer to set. Keep that in mind as not all places are that warm at all times of the year.
Super glue, on the other hand. Sets fast. In fifteen seconds you are ready to play or glue another part. This works because superglue reacts with moisture in the air to create a crystalline structure that bonds both surfaces. Now the drawbacks: a) Superglue was developed for the US army to use as a quick field dressing before wounded were sent to MASH units. As such, superglue is better at bonding your skin to itself than any other material. (I type from experience here). b) In most cases you will have to score the surfaces that you are attempting to bond. To give the glue a better surface area to adhere to. This invariably introduces the cutting hazard that comes with a knife, bloodthirsty or otherwise. (Though, I suppose you could glue your self together with superglue. I don't recommend it. consult a doctor first if you want to prove me wrong). and c) superglue bonds are, depending on the amount of moisture introduced, brittle. This can be an advantage if you want to break apart a model and after a lot of cleaning off of glue. Reassemble it with a pose that is more to your liking. On the flip side a properly cured bond is very, very strong.
I should also mention that these glues, due to the very nature of the solvents involved, should not be used for hours long assembly marathons. Take breaks, get some fresh air.
So now then, you have the glue all ready. The, I assume, Juggernaut cleaned and ready and your sticky tack within reach. You are probably trying to decide which glue to use. Not to worry. We start with the Sticky tack, but first we have to knead it for a bit.
Its a simple process. Just pull out as much as you want and start by squishing and stretching it until it feels
warm. The kneading process allows the sticky tack to absorb some of your body heat from your hands.


 | ||
| All tacked up. |
It should be ready when it no longer feels cold to the touch.
So now that we have softened up our sticky tack. It's time to apply it to the model. As you can see below I have already done so.
The part that you don't see, is the top of the waist/hip part. Its where the upper torso and the lower torso attach so that the Juggernaut can stand. I have added a liberal amount of putty there. Now we are ready for pre-assembly and by extension posing.


Before i get too far ahead of myself there is a little bit of preparation first. And that is to 1) memorize the general pose that I liked. It will look a little different after the sticky tack has been removed. 2) I have to remember to remove the sticky tack from the parts to be glued. Always important to glue together the parts that you want glued together. And of course 3) pick a glue. I chose to try that glass jar of plastic cement. After all I have used the tube packaged version before and that worked in the past.
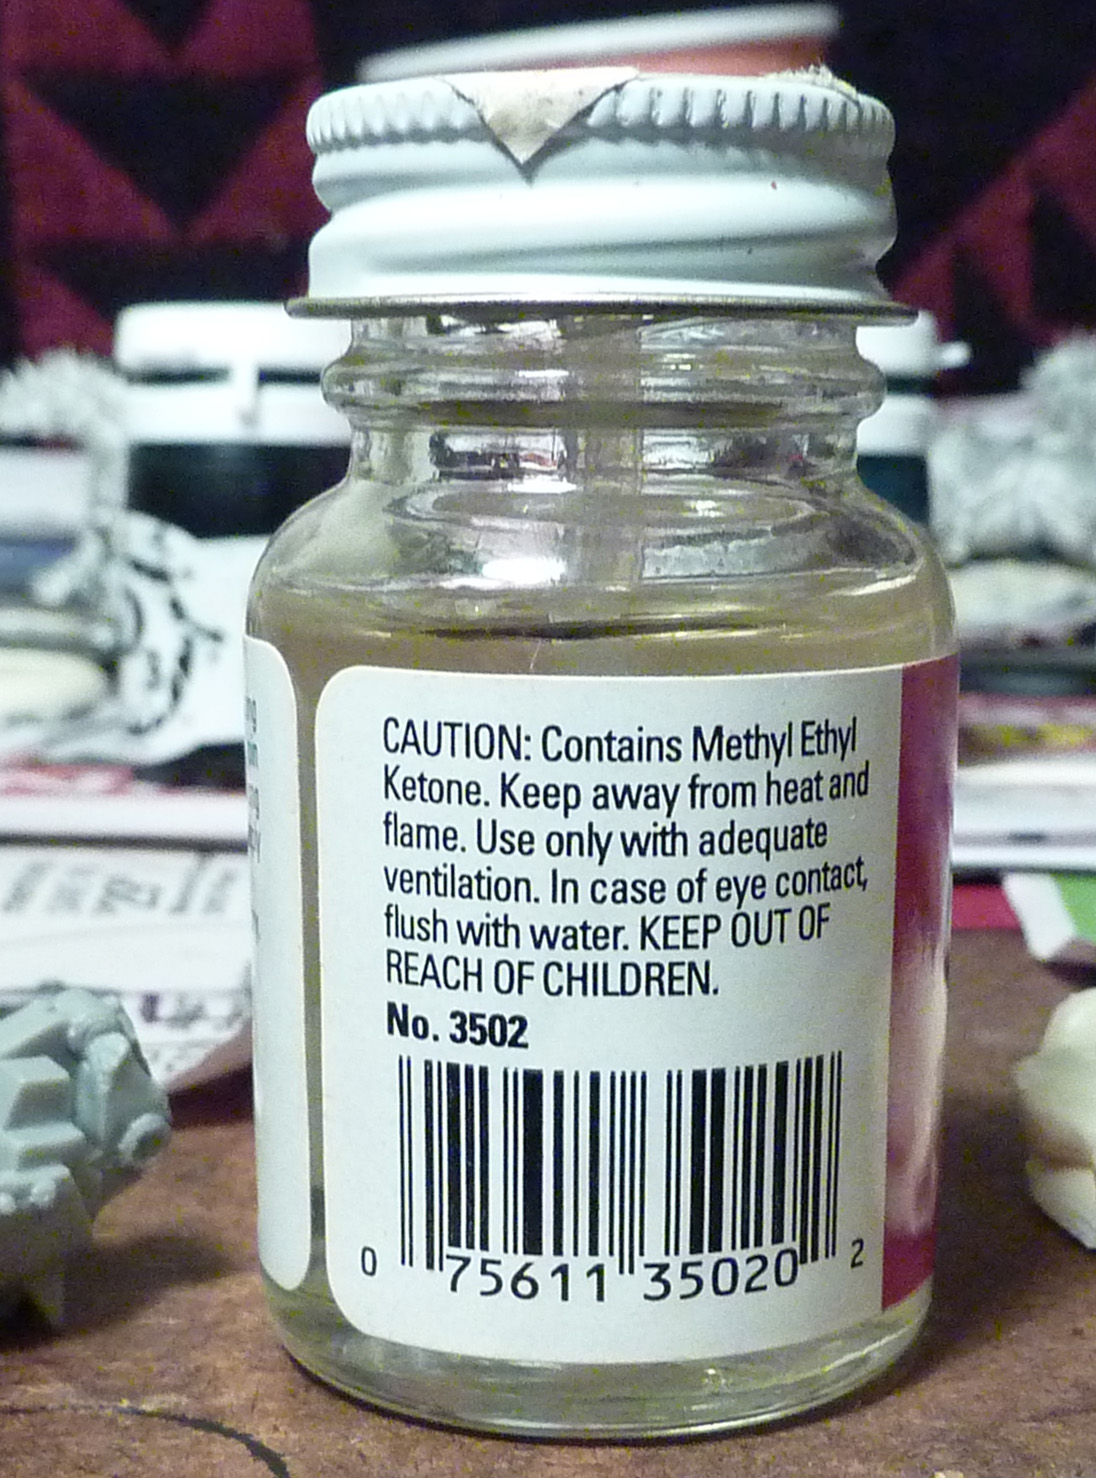 |
| This convenient warning label should be read before using the cement. |
 |
| The brush is actually a part of the jar's cap. |
That worked well, so I attempted to try it on the hands. However I didn't pay attention to the ambient temperature, not to mention that this stuff is as viscous as water. Its really watery.
So to improve the bond-ability I scored the surfaces that were to be joined:


Warning!: Superglue vapors are an eye irritant. Avoid, and by that I mean Don't, point the bottle towards your eyes. Avoid sniffing the bottle's nozzle. Use good ventilation, like an open window or two. Avoid getting it on your hands as it will bond your skin. And try not to get it on your clothes and the carpet. It actually causes an exothermic reaction when that happens. Again I speak from experience on that one. Luckily I didn't drop any on the carpet.
And after gluing with a few minor edits to the pose I have this:

But that leaves me with a bit of a problem. Do I now move on to painting this guy or do I do an assembly tutorial on the Destroyer and Sorsha. The other two models from the starter set. Decisions, decisions....
PS
A little legal superstitious stuff to keep cease and desist orders away:
Privateer Press, Warmachine, Khador, Formula P3 and associated logos are trademark properties of Privateer Press, Inc. 13434 NE 16th St., Suite #120 Bellevue, WA, 98005. All rights reserved.
ZAP-A-GAP is a registered trademark of PACER TECHNOLOGY, LLC, Rancho Cucamonga, CA 98730
Testors is a registered trademark of The Testor corporation, Rockford, IL 61104
No comments:
Post a Comment